
I just recently (yesterday!) started testing Pressmatic for my local WordPress development. Up until now I’ve been running my own Apache, MySQL/MariaDB and PHP servers which I installed using Brew by following this tutorial.
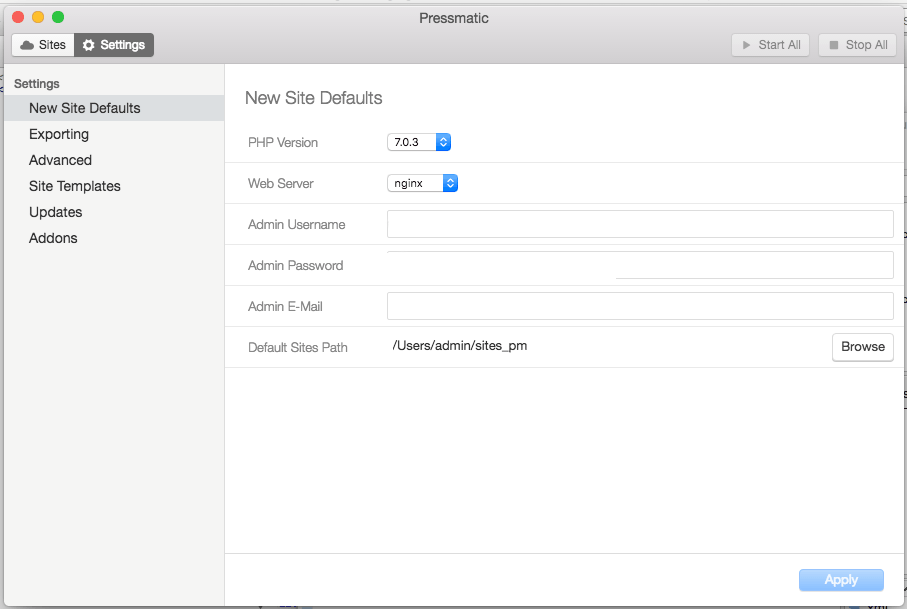
Pressmatic is very attractive because it lets you quickly switch PHP versions, swap Nginx for Apache and use a virtualized Linux server instead of your Mac (which I love, but for servers I love Linux even more).
The one thing that Pressmatic doesn’t currently do is let you swap MySQL versions. It ships with MySQL 5.5 which, while still in use on many web hosts, is missing all kinds of great features. The following instructions will show you how to install MySQL 5.6, 5.7 or MariaDB inside Pressmatic.
Update: August 24, 2016
If MySQL fails to start after running these steps or the scripts, try restarting the server from the Pressmatic app. It seems that sometimes something takes up too much memory but after restarting the server MySQL starts right up like it should.
Pressmatic Database Upgrade Scripts
For your convenience we’re providing three scripts that will automatically upgrade your MySQL version to 5.6, 5.7 or MariaDB. For an explanation of what they’re doing, see the detailed instructions below.
Future upgrades to Pressmatic, MySQL or Debian may break these scripts, but for now we hope you find them useful.
Usage
-
Download one of the upgrade scripts
-
Copy the script into the $YourSite/conf/mysql/
Copy the script in to your site’s MySQL config directory. These directories are shared between your host computer (your Mac) and the Linux virtual server.
Copy the script -
Run the Script
Use the Open Site SSH tool to connect to your site, and then run the script you just copied in step 2. Upgrading typically takes 3-10 minutes depending on network speed.
Run the script -
Enjoy Your Upgraded Database!
That’s it, your database should be upgraded and ready to use!
Step by Step Instructions
To understand what our scripts are doing, here’s the step-by-step instructions with explanations of how to upgrade MySQL without using a script.
-
Create or start the site you want to upgrade.
You could use an existing site with data in it, but in upgrading there’s a risk of data corruption. You should add a backup and restore process to these instructions when migrating an existing site!
-
Open Site SSH
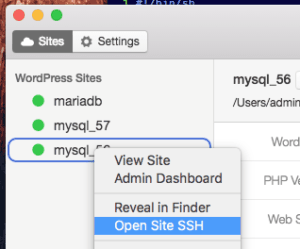
Open Site SSHThis will open a terminal with the root user already logged in. We’re going to run several commands in order to get MySQL upgraded.
-
Stop the current MySQL server
We’re replacing it, and that’s easier if it’s not still running.

/etc/init.d/mysql stop /etc/init.d/mysql stop -
Update apt-get
The Pressmatic image needs apt-get to run to detect which packages are available.
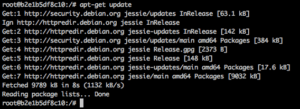
apt-get update
apt-get update
NOTE: MariaDB users can now skip to step 10: Install new version of MySQL!
-
Back up the MySQL init script
The init scripts that come with the MySQL releases we’ll be using seem have permissions issues with the way our Pressmatic image is configured. We’ll back up the existing init script, then restore it at the end of the process.
cp /etc/init.d/mysql /etc/init.d/mysql.back -
Install wget and lsb-release
The MySQL releases depend on lsb-release, and we’ll use wget to fetch the package we need from MySQL.
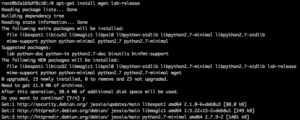
apt-get install wget lsb-release
apt-get install wget lsb-release
- Download MySQL-Apt-ConfigMySQL packages and provides its own server binaries for Debian and Ubuntu. Pressmatic is using Debian under the hood, so we’ll use the official binaries.You can find the latest version here on the MySQL site, here.At the moment, the latest is version 0.7.3-1, so we’ll download it with:
wget http://dev.mysql.com/get/mysql-apt-config_0.7.3-1_all.deb
wget mysql-apt-config -
Install MySQL-Apt-Config
Use dpkg to install the package you just downloaded. In our case it’s going to be:
dpkg -i ./mysql-apt-config_0.7.3-1_all.debDuring the install you will be asked which version of MySQL Server you’d like to install. Press 1 to change versions and press 4 when you’ve made your decision.
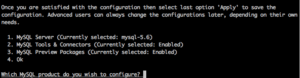
MySQL Apt Config Settings Note: This does not actually install MySQL yet!
-
Update Apt-Get Again
MySQL-Apt-Config provides new repositories, so we need to update apt-get again.
apt-get update -
Install the new version of MySQL
We’re finally ready to install the new version of MySQL!Important: Do not overwrite the existing configuration files if prompted.
Important: Set the MySQL root password to root since that’s what Pressmatic is expecting.
- For MariaDB:
apt-get install mariadb-server - For MySQL 5.6 or MySQL 5.7:
apt-get install mysql-community-server
Note: MariaDB users can skip to step 13: Restart MySQL
- For MariaDB:
-
Restore up the MySQL init script
cp /etc/init.d/mysql.back /etc/init.d/mysql -
MySQL 5.7 Only: modify mysqld.conf
MySQL 5.7 changes where the default config file is, so the old files aren’t used. We need to change the error log location to avoid permissions issues.
perl -p -i -e 's|/var/log/mysql/error.log|/var/log/mysql.err|g' /etc/mysql/mysql.conf.d/mysqld.cnf -
Restart MySQL
MySQL is now ready to restart.
/etc/init.d/mysql start
If you check out your database you should now see the new version of MySQL running.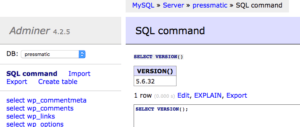
Adminer shows an upgraded MySQL -
Finally, upgrade the database
This will verify that there are no incompatibilities between the existing tables and the new database capabilities and permissions.
mysql_upgrade -u root -p root
Pressmatic is very promising so far. I’ve kept my old setup, just in case, but Pressmatic seems like a good way to manage the WordPress testing environments I need.

Tim Cimbura – CEO, CFO and Solution Engineer
Tim is an expert in creating custom business solutions that make businesses more effective, productive, and profitable. He specializes in rapid application development with Claris FileMaker, Laravel, and WordPress. He also knows Apple macOS technology inside and out.